0 item(s)
View cart
You have no items in your shopping cart.


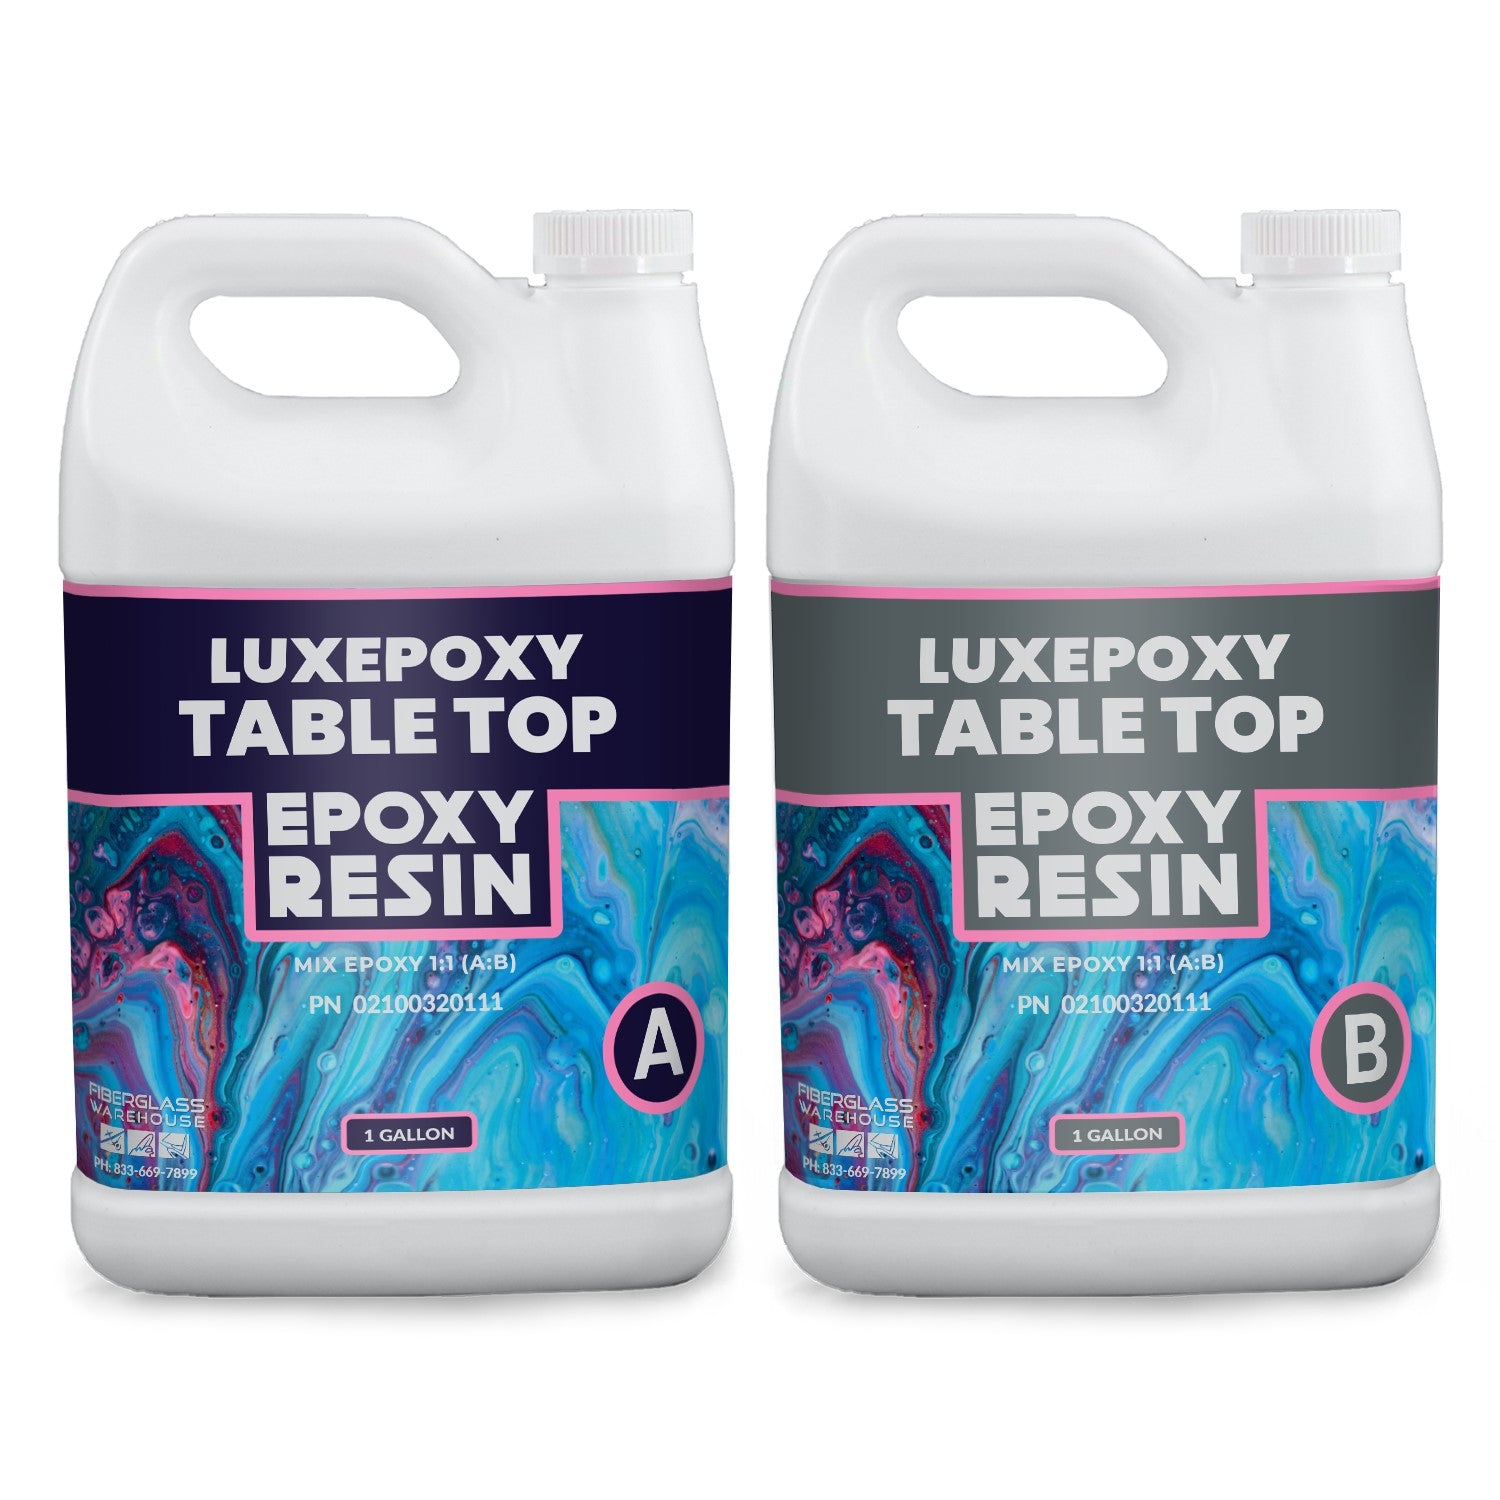
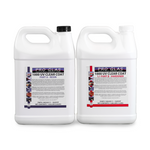
Luxepoxy Resin is a premium grade epoxy that is great for counter tops, table tops and art projects. It is a two-part epoxy resin kit that is mixed at a 1:1 ratio by volume. It cures clear and high gloss and is BPA-free. Luxepoxy is easy to pour, self-leveling, UV resistant and has low odor.
**It is not recommended to use Luxepoxy in freezing climates due to possibility of de-lamination.
Basic Instructions:
1. Calculate how much epoxy resin you will need for your project. You can use our calculator HERE to help figure it out. It requires you to know the length and width or your surface and the desired thickness of the epoxy. It will also ask if you plan to let the epoxy run over the sides and if a seal coat is needed.
2. Have proper safety equipment on hand including gloves and mask.
3. Make sure the surface is clean and free of contaminants. Try to avoid using the resin in an area that has lots of dust, insects etc. that could get into the resin.
4. Epoxy/hardener needs to be around 77 degrees Fahrenheit for optimal application. Bring temperature of epoxy resin up by using a warm bath. The room temperature should be between 75-85 degrees Fahrenheit during the whole process, including the curing time.
5. Measure out equal parts of the A & B in two separate graduated measuring cups. It is measured out 1:1 by volume. It is very important to be exact.
6. Next, pour both into larger cup and stir steadily with a stir stick or spatula. The resin will be cloudy colored at first. Remember to scrape sides and bottom as you mix for 5-7 minutes. Do not whip the resin too vehemently or it will create too many air bubbles. Resin will look clear and free of streaks when stirred well.
7. Pour the mixed contents into a fresh cup without scraping the sides. Epoxy is now ready to use.
8. Carefully pour and spread the epoxy onto the clean prepared surface. If your surface is porous, you will want to do a thin seal coat first. Apply a thin layer using a foam brush or squeegee. Wait 4 hours before applying the flood coat. Do not pour more than 1/8” depth for the flood coat. If a larger depth is desired, pour in multiple coats with a cure time in between.
If more than 10 hours has passed between pours, lightly sand surface and clean with acetone before adding another coat.
9. Remove air bubbles with a small torch or heat gun. Be very careful. Wave torch or heat gun 6-8 inches above the surface. Bubbles will start popping. Repeat until all bubbles are gone.
10. Let cure. Make sure the room temperature stays at 75 to 85 degrees Fahrenheit during the entire curing process. Resin will be tack free after a half day but a full cure will take approximately three days. If the temperature drops below 75 degrees Fahrenheit, there will be a longer cure time or the resin may never cure.
**mix in smaller batches. Pour in depths of no more than 1/8”. Do a test batch as working with resin is more of an art than a science**