0 item(s)
View cart
You have no items in your shopping cart.


If you're thinking of renovating your deck, there are a lot of materials you can use. But if you want a sturdy and long-lasting deck, fiberglass may be an excellent option for you. Fiberglass in conjunction with resin is a durable material that can withstand harsh environments and protects your deck from water. In this guide, we will provide you with valuable information on how to fiberglass a deck.
Assemble the Materials
To fiberglass your deck, you need some necessary tools and supplies. It will help if you take the time to research and get a comprehensive list of everything you need in order to avoid any interruptions while working on your deck.
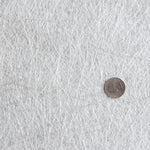
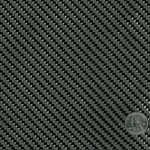
-Chopped strand mat or Knitted Fabric- Typically people use around a 1.5 or 2 ounce chopped strand mat to fiberglass their deck. If it is a roof deck that is over a living area you will want to use 2 layers of chopped strand mat or one layer of 1708 Knitted Fabric. If the deck is not over a living space and the plywood is sturdy, you will only need one layer of chopped strand mat.
-Resin- Where the deck is located will help decide which resin is best. If the deck is connected to the house, an ortho resin can be used but ISO polyester resin is a better option. If the deck is on a roof over a living area, ortho or ISO polyester resin can be used but vinyl ester resin is highly recommended. Vinyl ester is stronger and has the best elongation, highest temperature capabilities, good corrosion resistance, and is completely waterproof.
-Catalyst- MEKP is needed for all polyester and vinyl ester resins. If you order resin kits from Fiberglass Warehouse, the MEKP catalyst comes with it.
-Gel Coat- It is recommended to apply gel coat over the fiberglass and resin layers. It gives a UV protective coating. If you use only one layer of gel coat, you will want one with wax so it cures tack free. If you are doing more than one layer, only the final layer needs wax in the gel coat.
-Mixing and Measuring cups- Various sizes
-Stir Sticks
-Fiberglass rollers and Paintbrushes- Aluminum rollers work great for flat surfaces and help work the resin into the fiberglass. Bristle rollers are good for releasing the bubbles trapped in the resin. Corner rollers are great for concave surfaces or corners. Paintbrushes also work to apply resin to the fiberglass.
-Squeegee and spreaders- Also great for applying and spreading resin.
-Fillers- You can buy a premade fairing putty to fill holes, cracks or any other imperfections. You can make your own by adding various fillers such as glass bubbles or fumed silica to your resin to create a putty.
-Sandpaper- various grits
-Safety equipment- Resin has fumes and is hazardous. You will want to wear gloves, a respirator or mask and some safety goggles.
-Acetone- To clean tools and for surface prep.
-Putty knife (optional)
-Caulk (optional)
Prepare the Surface
The next step is preparing the deck surface, which will ensure proper fiberglass adhesion. Start by cleaning the surface to get rid of any debris, dirt, and dust. You can also use a power washer. It is imperative that the surface is dry and free of moisture before beginning. If there is any moisture left on the surface, the resin will not adhere well and the fiberglass and resin will delaminate. Sand the surface with 80-grit sandpaper to scratch all existing coatings on the deck's surface, providing resin, something to grab onto. Use a vacuum cleaner or blower to remove any dirt or dust from the sanding process. Then clean with acetone.
If there are any holes where nails/screws were used, cracks or imperfections, use a premade fiberglass putty or one you made on your own using fiberglass fillers and resin. Remember to wear protective gloves, respirator or mask when working with resin and fiberglass. You will need to add MEKP catalyst to the fairing putty or resin at 1% to 2% by volume depending on ambient temperature and desired working time. Use a putty knife to smooth out the surface when applying. The spaces between the deck and posts can be caulked before starting. Let it cure.
Apply the Fiberglass and Resin
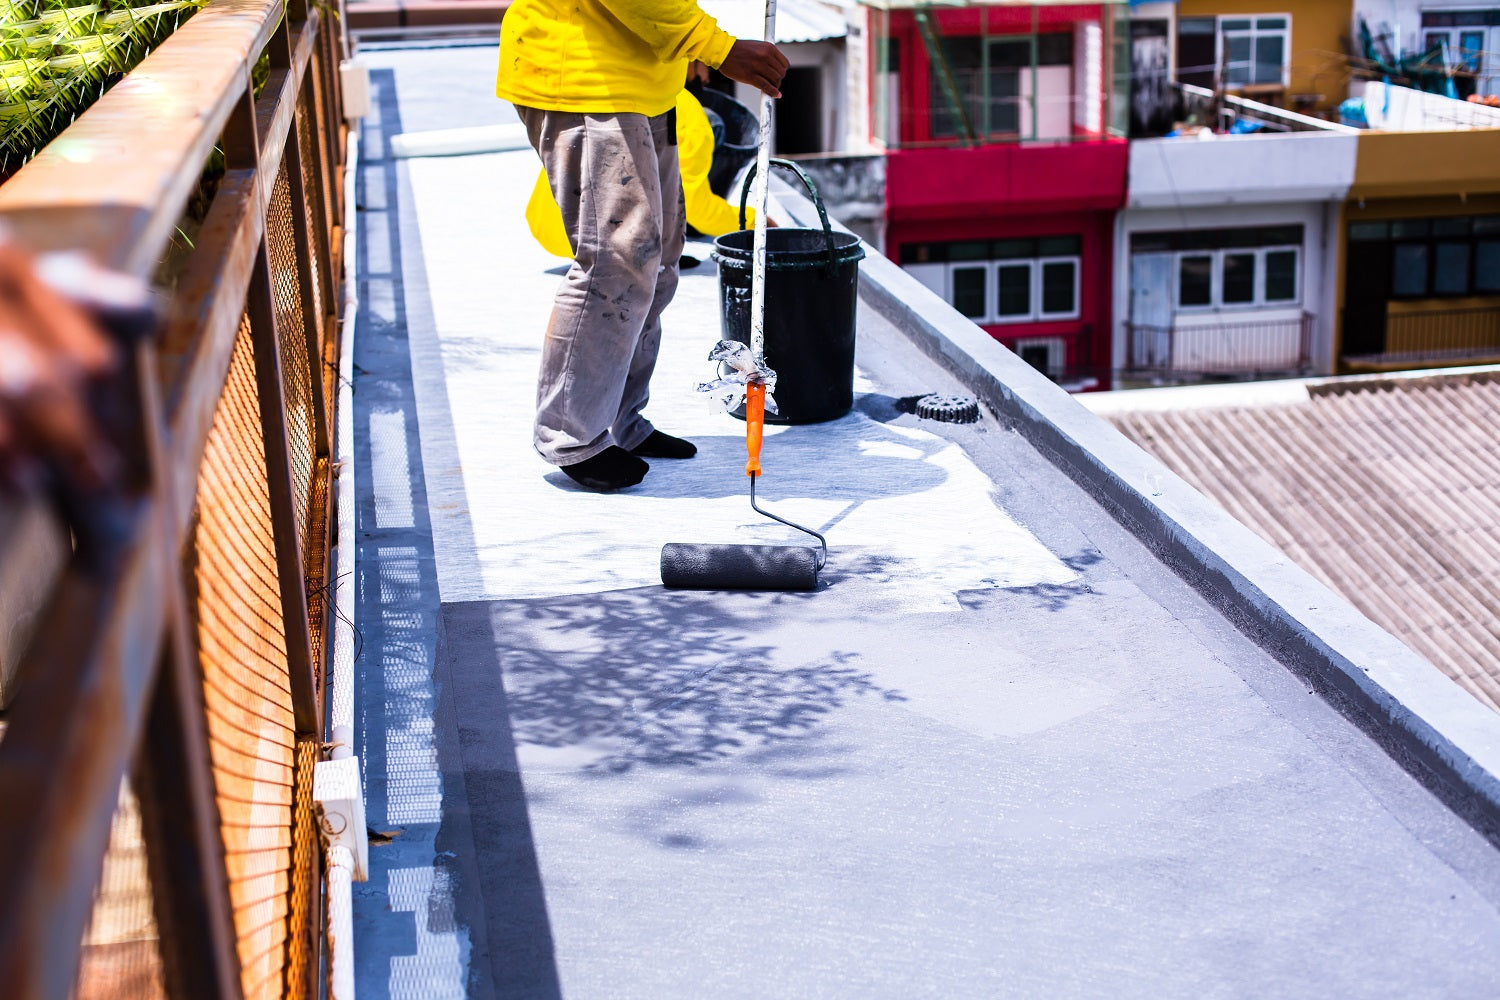
Once you have the deck surface ready, the next step is applying the fiberglass and resin. Again, make sure to wear gloves, a respirator and eye protection as well as taking precaution to protect your skin. Working in temperatures between 60°F and 90°F is ideal. If you are working in the 60°F degree weather range, be aware that the cure time will be much longer. If you are working closer to the 90°F weather range, your work time will be very short.
You can do a primer coat of just resin if you want but it isn’t always necessary. Wood absorbs quite a bit of resin so it can be beneficial to seal the surface first before adding the fiberglass. If doing a primer coat, let cure before moving on.
Cut the fiberglass to the correct size leaving a little bit of overhang. It can be cut with scissors or a razor. Measure out the resin using a mixing cup and add MEKP at 1 to 2 percent by volume. Stir well. Next, take a paintbrush and apply a layer of resin on the surface. Place the fiberglass over it and make sure it's in the right position. Use the paintbrush, short knap roller, fiberglass roller, squeegee and/or spreader to saturate the fiberglass with resin. Make sure the fiberglass is completely wetted out and you cannot see any white spots. A fiberglass roller will be helpful to work the resin into the fiberglass and remove any trapped air bubbles. If doing more than one layer of fiberglass, wait for the resin and fiberglass to cure before adding the next layer. If only using one layer, let resin cure.
Trim any of the fiberglass overhang once the resin starts to gel. This is before it is cured but is starting to harden. You can do this using a razor blade.
Preparing Resin Surface and Applying Gel Coat
The next step is to sand down the rough edges with sandpaper, making the surface smooth and even. Once everything is completed, it's time to gelcoat your fiberglass deck. People typically go for a white, grey or beige color gel coat for their deck. Adding a polyester gel coat enables the fiberglass to be fully protected from UV rays, saltwater, and other exterior elements.
Two layers of gel coat are recommended. The first layer should be without wax. That is so it will cure with a tack and will not need to be sanded before adding another layer. When working with multiple layers, you only want the final layer of gel coat to contain wax. The wax in the final layer raises to the top, inhibiting air and cures to a hard tack free finish.
Measure out the gel coat in a mixing cup and add MEKP at 1 to 2% by volume. Mix well. Apply evenly over the surface. Let cure and then add a second layer. Once everything is cured, you can sand any imperfections or uneven spots.
Conclusion:
Fiberglassing a deck can seem like an intimidating task, but it is a great DIY project. The process is relatively simple and can be completed within a short time frame, depending on the size of your deck and the ambient temperature. The benefits of adding fiberglass and resin to your deck are worth all your time, effort, and expense. Fiberglass decks are durable enough to withstand weather conditions. Remember to follow these steps, starting with assembling materials, preparing the surface, applying the fiberglass and resin, sanding, and gel coating the deck. Following these steps, you'll have a sturdy deck that will last for years to come.